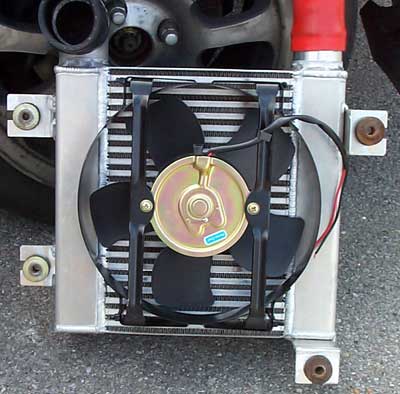
Spearco manufactured Air to Air Intercooler

Contact Topend Performance to find out more about this unit including pricing

As part of the build up of my car I'm gotten an upgraded intercooler setup made for it.  The stock Toyota IC measures 2.5 x 11.5 x13. The actual core size is 2.5 x11.5 x 8. This unit is approximately the same size overall. The Spearco core is a little larger in both directions, and one inch deeper. 

The prototype from the top The new Spearco on the left and the OEM unit on the right

This is a picture of my air to air Spearco Intercooler which doesn't have the mounting tabs on it yet. As you can see, this is a quality unit. I've received the unit back and have installed it.  My initial impressions are that it is making a large difference.  My car has an J-Spec engine (8.9:1 compression), HKS intake, TRD Header, and Cusco sized pulley. Since I've had the new engine installed I've felt that it was a flat once it was warm. Don't get me wrong, it was still quick, but it really felt flat, especially as the weather here in Nashville has warmed up. 

In some SOTP testing today (about 65 degrees, sunny and dry) it is quite a bit stronger, for a much longer time. I do have to say that it does induce a lot more intake noise. Sort of reminds me of when I first installed the HKS intake. Lots of new intake noise. The main thing is the car just seems more healthy now.  I will be getting dyno runs done soon and will get some done with and without the new IC.  

Last night (03/22/2000) I was down at Performance Garages here in Nashville. I thought I'd see just what my car was making and what the difference was between the stock and Spearco ICs. The plan was drive down with the Spearco installed, run some baselines, switch to the Stock IC and then switch back to the Spearco. The baseline results were less the I hoped for, but due to my car still running fairly lean and not having touched the timing they were acceptable. One thing we all noticed though was how smooth the line was. There was no sign of problems in the ignition system even though I have 30,000 miles on the current distributer cap (Thanks Marc Summers!)

Each IC was run for three pulls in fairly quick succession. We had a large fan blowing down onto the intercooler on all runs (I was not running the under IC fan on the Spearco).
The difference between the stock IC and the Spearco was 5.7 hp, first run to first run and then 18.9 hp third run to third run showing that the Spearco flows more to begin with and then sheds heat faster then the stock IC.  I won't be posting charts or graphs until I can get my fuel problems straigtened out. The current ones are just to embarassing. I just wanted to post some numbers relating to the Spearco.

The finished unit is on the left. One of the design criteria was to have a drop in unit and this is what I have delivered.  All you need to do is to move the rubber grommets from the stock unit to the new unit. From the top side of the intercooler assembly, push down on the steel sleeve in the grommet. Once the sleeve is out, compress the grommet and twist it out the channel. Repeat the process backwards to install in the new intercooler. 

Looks Natural, doesn't it?

Now doesn't this look good? As you can see it fits just like the stock unit. It even uses the stock mounting hardware. As you can see you can even use the Silicone IC hoses from the GP I arranged earlier. Installing the new IC took all of 30 minutes (I timed it!). The hardest part was getting the down spout hose on. As of 03/19/2000 I have switched the down spout hose back to the OEM unit. It fits better then the pretty red one.


Here is a detail shot of the rear intercooler mounts. The bottom one is  just the mount bracket with the OEM grommet installed. The top one is the same with the OEM bolt through it just like the OEM intercooler.


Here is the Spearco Intercooler with the Permacool Fan zip tied to the bottom side. This fan is rated at 1250 cfm @ 7A. I am using the rear window defroster switch to turn it on and off. The reason is that the rear window defroster circuit is on it's own 20 amp circuit, I've never used my rear window defogger and the power wire is already halfway to where I wanted it.